Combining Moodboards and AI Studio: Turn Ideas into Realistic Visuals
Learn how to turn your creative moodboards into lifelike designs using Feel Design AI Studio. Discover how to merge inspiration and execution — from concept boards to realistic renders — in one seamless workflow.
Introduction: From Vision to Visualization
Every great interior project starts with a spark — a mood, a texture, or a color palette that inspires the story of a space.
Traditionally, moodboards have been the designer’s way of expressing that vision. But with Feel Design AI Studio, your creative ideas don’t have to stay flat on a board — they can instantly become realistic, AI-generated visuals that bring your concepts to life.
Combining Moodboards and AI Studio in Feel Design bridges the gap between inspiration and execution, empowering you to see how your ideas would look in real spaces, with just a few clicks.
Let’s dive into how this process works and how you can use it to level up your design workflow.
1. Why Moodboards Matter in the Design Process
A moodboard is more than just a collage of pretty images — it’s the emotional and conceptual backbone of any design project. It helps you:
Define your design direction and aesthetic tone.
Communicate ideas clearly to clients and collaborators.
Establish color, texture, and material harmony before any rendering begins.
Streamline the AI prompt process later in AI Studio.
When done right, a moodboard serves as the blueprint of mood, light, and story behind your final design.
2. Creating a Compelling Moodboard in Feel Design
In Feel Design, you can create digital moodboards directly in your workspace. Here’s how to make one that’s AI-ready:
Step 1: Gather Visuals
Collect images that define your theme — furniture, finishes, color swatches, inspiration photos, or lighting ideas.
Step 2: Organize by Category
Group elements under color, texture, style, and space to create a clear visual hierarchy.
Step 3: Annotate and Tag
Add short notes or tags like “boho tones,” “industrial metals,” or “minimal mood” — these keywords will guide your AI prompts later.
Step 4: Curate Your Final Look
Refine your board to include only what truly fits your concept. A strong moodboard should inspire clarity, not clutter.
💡 Pro Tip: Use a neutral background so your visuals pop, and avoid too many overlapping textures that confuse the overall aesthetic.
3. From Moodboard to AI Studio: Bridging Inspiration and Creation
Once your moodboard captures your vision, it’s time to translate it into a realistic scene using AI Studio.
Here’s the process that turns your concept into a 3D-like visualization:
Upload or Choose a Base Image
Start with an image that matches the room layout or perspective you want to design.
Reference Your Moodboard
Keep your moodboard open while crafting your AI prompt. Pull phrases like “light oak,” “earthy palette,” or “Japandi minimalism” directly from it.
Enter AI Studio
Use Feel Design’s AI Studio to transform your base image based on your moodboard cues:
Select the right style or preset (e.g., Scandinavian, modern farmhouse, industrial).
Adjust lighting and color tones to reflect your moodboard’s atmosphere.
Swap materials and textures using the Material Tool for authentic finishes.
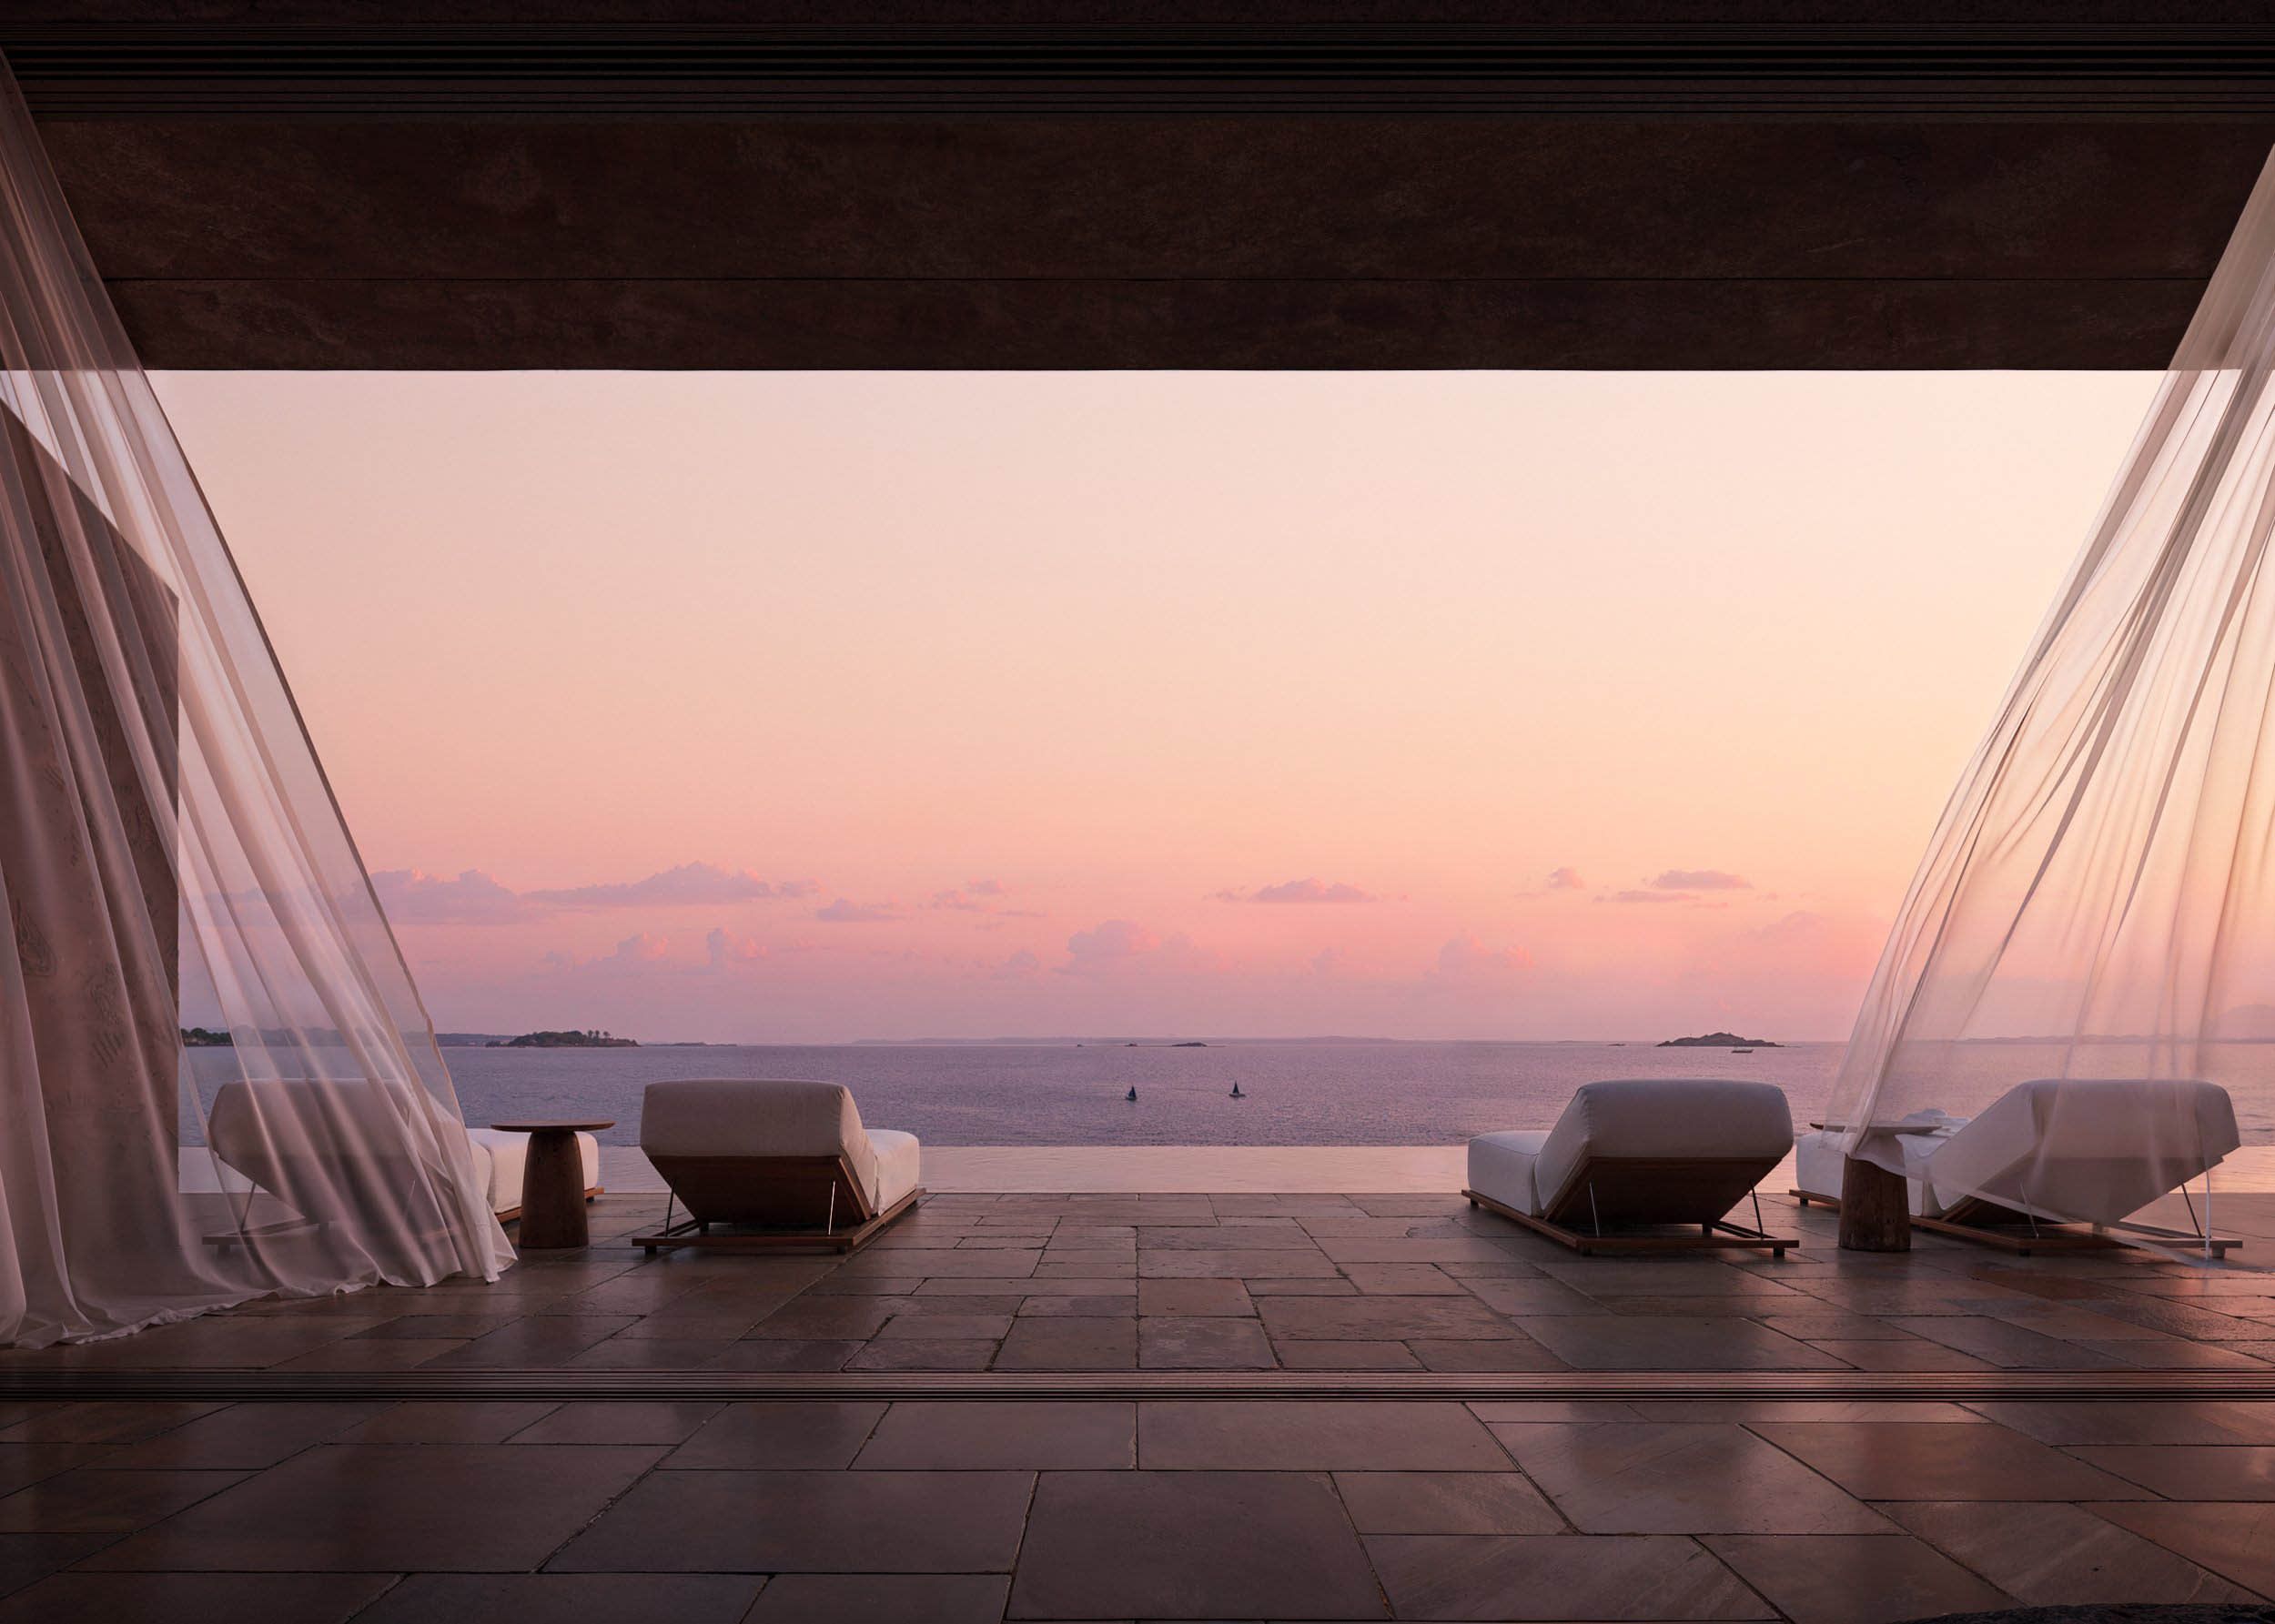
Within seconds, you’ll see your ideas evolve from conceptual collage to photo-realistic interior visualization.
4. Using AI Prompts That Reflect Your Moodboard
Your moodboard is essentially a visual prompt — but pairing it with textual prompts enhances AI accuracy.
Example:
Moodboard Theme → Modern Coastal Living
AI Prompt →
“Design a bright coastal living room with rattan furniture, white walls, and natural linen accents. Add warm sunlight and ocean-inspired decor.”
By combining both, the AI understands not just your words but also your visual intent, resulting in more precise, cohesive outputs.
🎯 Tip: Keep prompts descriptive yet focused. Too many adjectives may confuse the AI; stick to the essentials that define your concept.
5. Refining Your Design Using Selection Tools
Once you generate a render, you can fine-tune specific areas to align even more with your moodboard.
Use tools like:
Brush Selection — for recoloring or texturing small elements.
Lasso Tool — for isolating larger sections (like a wall or floor).
Auto Selection — to quickly apply changes across similar materials.
This precision ensures that your render faithfully reflects your board — from the tone of wood to the exact hue of upholstery.
6. Comparing and Iterating for Perfection
Design is iterative. Feel Design allows you to:
Generate multiple variations of your render.
Compare outputs side-by-side.
Save favorites to your Project Gallery for client presentation or revision rounds.
You can even update your moodboard mid-process — add new textures, swap colors, or test alternative lighting setups — and instantly see how those changes influence the next render.
💬 Pro Tip: Keep each render tied to its corresponding moodboard version for a clear creative trail and smoother feedback cycles.
7. Presenting Your Vision Professionally
Once you’ve transformed your ideas into realistic visuals:
Add them back to your Moodboard or Portfolio section in Feel Design.
Create a before/after layout to showcase concept evolution.
Export visuals with brand or project labels for client-ready presentation decks.
This not only demonstrates your design vision but also your technical mastery in using AI tools to translate imagination into tangible visuals.
Conclusion: Creativity Meets AI Precision
Combining Moodboards and AI Studio in Feel Design gives you the ultimate creative workflow — where imagination meets execution.
Instead of guessing how your concept will look in real life, you can visualize it instantly, experiment endlessly, and refine effortlessly. It’s the perfect balance between artistic direction and AI-driven production — helping designers and creators bring ideas to life faster, clearer, and more beautifully than ever.