How to Refine Your AI-Generated Designs Like a Pro
Learn how to polish and perfect your AI-generated interiors in Feel Design using advanced editing tools. From color balancing and lighting adjustments to material swaps and composition tweaks—discover pro techniques for turning AI drafts into studio-quality results.
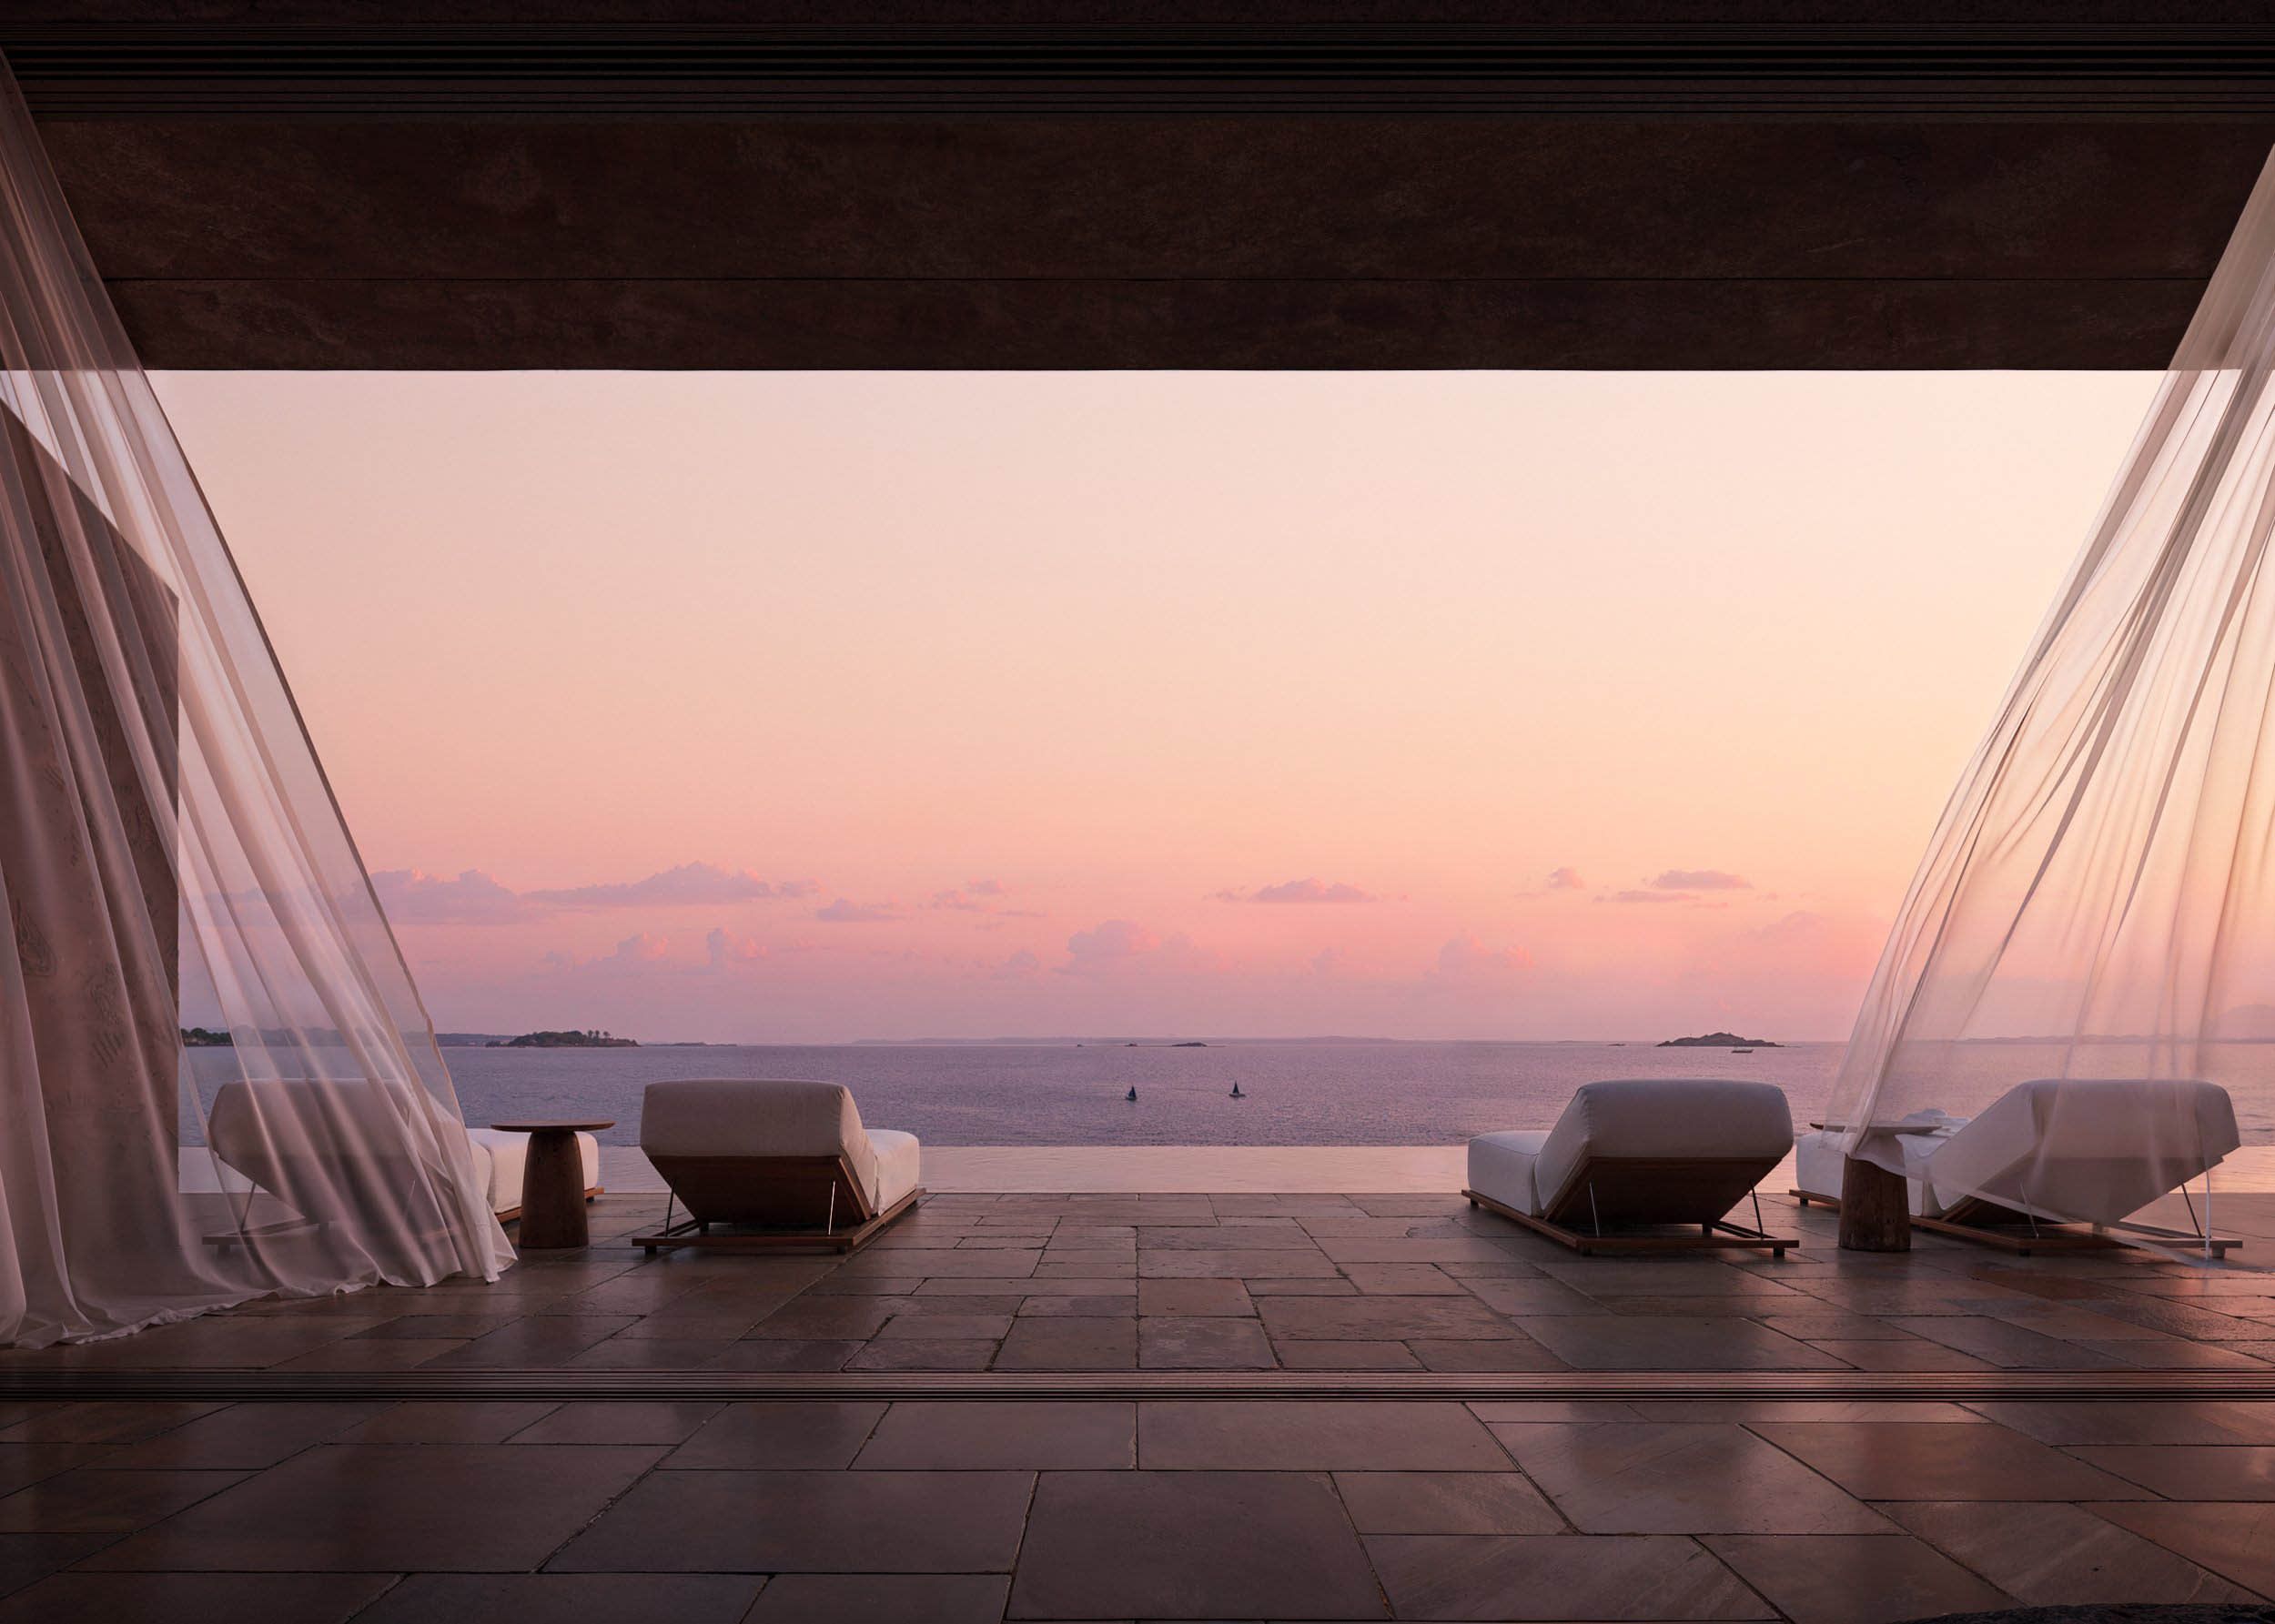
🎨 Introduction: Turning Good AI Designs into Great Ones
AI has revolutionized the way we design, helping anyone—from homeowners to interior designers—create stunning visuals in seconds. But while AI can give you a great starting point, the real magic happens in the refinement stage.
That’s where you bring in the human touch: your taste, judgment, and attention to detail.
In this guide, we’ll show you how to refine your AI-generated designs in Feel Design like a true professional—achieving realistic, balanced, and visually captivating results that go beyond automation.
⚙️ 1. Understand Your AI Draft First
Before making any changes, analyze what the AI produced:
Does the lighting feel natural and consistent?
Are the textures realistic and well-balanced?
Does the color palette match your intended mood?
Is the composition functional and visually harmonious?
By identifying what already works and what doesn’t, you can focus your refinements effectively instead of over-editing.
🪄 Pro Tip: Save your initial AI result as a baseline image so you can compare changes as you go.
🪞 2. Adjust Lighting and Shadows
Lighting is one of the biggest factors that separate an AI render from a professional one.
In Feel Design, you can fine-tune light direction, intensity, and warmth directly within the AI Studio.
Here’s how:
Increase warmth to make cozy interiors feel more inviting.
Add directional light (from windows or lamps) for realism.
Balance shadows to avoid flat or overly bright results.
🪄 Pro Tip: Natural light should always flow logically—match it with window positions or your design will feel off.
🎨 3. Perfect Your Color Palette
AI can sometimes overemphasize colors or misread tone relationships. Use Feel Design’s Color Balance tools to:
Desaturate overly vivid tones for subtle realism.
Harmonize hues across materials and furnishings.
Create emotional coherence—muted tones for calm, bold contrasts for energy.
🪄 Pro Tip: Apply the “Warm Balance” preset for a natural daylight look that complements most design styles.
🪵 4. Swap Materials for Realistic Textures
The Material Tool in Feel Design lets you replace any surface texture instantly—perfect for upgrading AI’s default selections.
Examples:
Replace flat wood textures with rich oak grain.
Add matte finishes for minimal interiors.
Experiment with polished marble or brushed metal for luxe spaces.
🪄 Pro Tip: Keep material reflection levels consistent. A glossy table beside a matte wall looks intentional; too many shiny elements can look artificial.
✂️ 5. Use Selection Tools for Precision Editing
Feel Design offers Brush, Lasso, and Auto Selection Tools to isolate specific areas you want to enhance.
Brush Tool: Best for fine details (like lamp lighting or texture patches).
Lasso Tool: Ideal for selecting irregular furniture shapes.
Auto Tool: Quickly detects major surfaces or objects for faster adjustments.
🪄 Pro Tip: Combine Brush + Auto for maximum precision without tedious masking.
🧠 6. Enhance Composition and Balance
Even great AI layouts benefit from a human eye for design principles:
Keep visual balance by aligning large and small elements.
Ensure negative space feels intentional, not empty.
Use focal points (like art, lighting fixtures, or textures) to draw the eye.
🪄 Pro Tip: Follow the Rule of Thirds—divide your scene into a grid and position key objects along those lines for natural harmony.
💡 7. Use Reference Comparison
Upload a reference image alongside your AI design to check tone and accuracy.
This is especially useful when recreating real-world styles (like Japandi, Modern, or Rustic).
You’ll quickly spot differences in warmth, color depth, and texture balance—and can refine accordingly.
📸 8. Final Polish: Add Depth and Detail
Once your adjustments are done, use Feel Design’s enhancement sliders to:
Add clarity for sharper definition.
Increase depth of field for photographic realism.
Subtly boost contrast to make materials pop.
🪄 Pro Tip: Less is more—tiny refinements often have the biggest visual payoff.
🏁 Conclusion: The Art of Human + AI Collaboration
The true power of AI design lies not in automation—but in collaboration.
Feel Design gives you an intelligent foundation, but you provide the artistry that brings the vision to life.
By mastering refinement tools like lighting adjustment, material swaps, and selective editing, you elevate your AI outputs into professional-grade visuals.
Because at the end of the day, AI designs the structure—but humans define the soul.